A Step-by-Step Guide to Hand-Cutting Window Tint: The Process, Tips, and Techniques
Window tinting is a popular method for enhancing the appearance and comfort of vehicles. Whether for privacy, heat rejection, or UV protection, window tint adds both aesthetic and functional value. One method that tint professionals use is hand-cutting the tint film to ensure a custom and precise fit. Unlike plotter-cut tint, which uses a machine to cut the film based on a template, hand-cutting offers flexibility and is an essential skill for those in the tinting business.
In this blog, we’ll walk you through the detailed steps of hand-cutting window tint, providing expert tips and insights for the best results.

What You’ll Need
Before diving into the hand-cutting process, gather the following materials and tools:
- Tint Film: Choose the right tint shade for your vehicle’s windows.
- Tint Cutter (Knife or Razor Blade): Precision is key here, so ensure your knife has a fine tip.
- Cutting Mat: A clean, flat surface to cut the tint film without damaging your tools or workspace.
- Spray Bottle: Filled with a mix of water and a small amount of Baby Shampoo or dawn (to apply to the window and film to prevent sticking).
- Squeegee: For smoothing out the film once applied.
- Lint-Free Cloths: To clean the windows and prevent dirt from affecting the tint application.
- Measuring Tape or Ruler: To measure the tint film for accurate cutting.
- Heat Gun or Hair Dryer: Optional, for molding the tint around curves and edges.
Step 1: Clean the Windows Thoroughly
The first step is crucial for a flawless finish. Clean the windows of the car thoroughly to ensure there’s no dirt, dust, or residue that can interfere with the application of the tint.
- Use a lint-free cloth and an appropriate glass cleaner.
- Pay extra attention to the edges and corners of the windows, as dust and debris can accumulate there.
- If the windows are tinted already, be sure to strip off any old film before applying the new tint.

Step 2: Measure the Window and Tint Film
Once the windows are clean, it’s time to measure the size of the tint film you’ll need to cut.
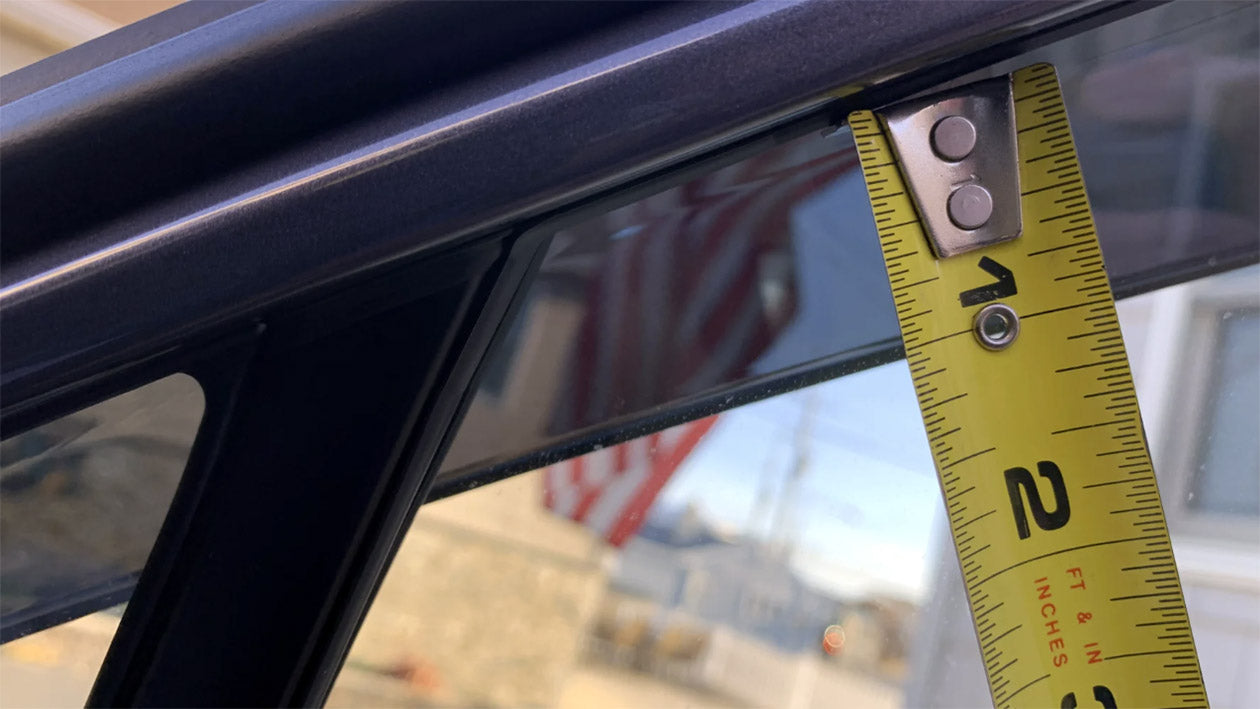
- Measure the width and height of each window where the tint will be applied. Add about 1-2 inches of extra material on all sides of the window to account for the film’s edges, which will be trimmed after application.
- Roll out the tint film and cut a piece that’s large enough to cover the window. It's better to cut a little extra than too little, as it’s easier to trim the excess than to add more.
Tip: If you're tinting a curved window, make sure the film has enough room to overlap the edges.
Step 3: Apply Soapy Water to the Window and Tint Film
To ensure the tint film doesn’t stick immediately to the window, and to prevent air bubbles or creases, spray the window and the tint film with a mixture of water and soap.
- Spray the window generously, ensuring it’s wet but not dripping. This makes it easier to position the tint film and move it around.
- Mist the adhesive side of the tint film with the soapy water as well. This helps in preventing it from sticking too early and allows you to adjust the film before it fully adheres.

Step 4: Position the Tint Film on the Window
Now that the window and the tint film are wet, position the film on the window. Align it carefully to ensure it’s centered and covers the entire window.
- Start with the top of the window and slowly lower the film, letting it fall into place.
- If the film is too large or doesn’t sit exactly where you want it, you can carefully lift and reposition the film while it's still wet. The soapy solution makes this process easier.

Step 5: Begin Trimming the Tint Film
Once the tint film is in the correct position, it’s time to cut the tint to the size of the window. This is where the hand-cutting technique shines.
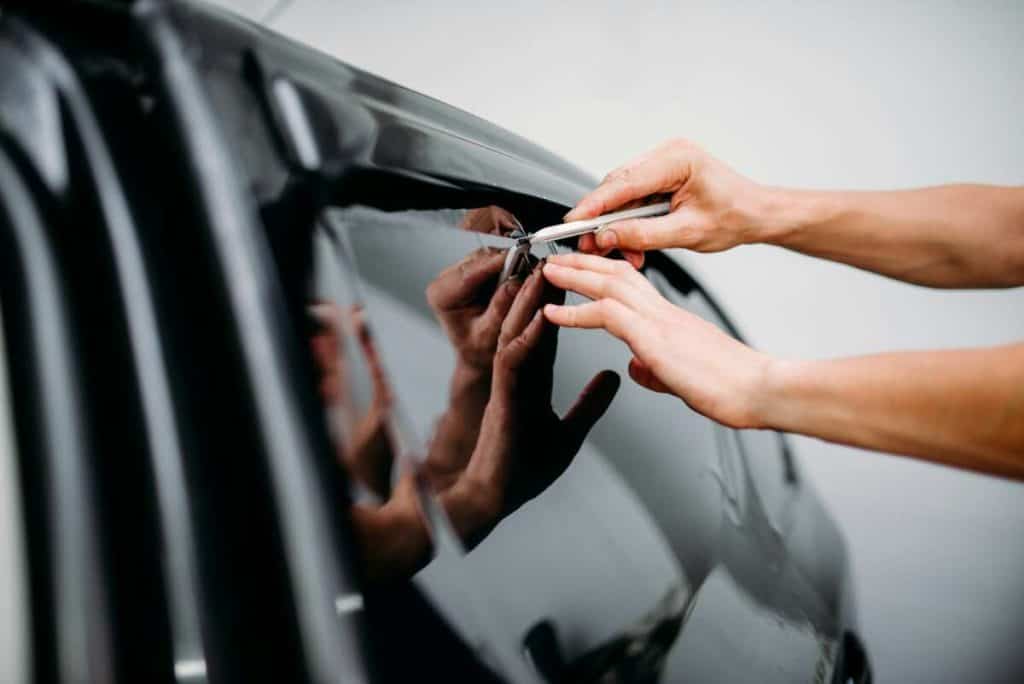
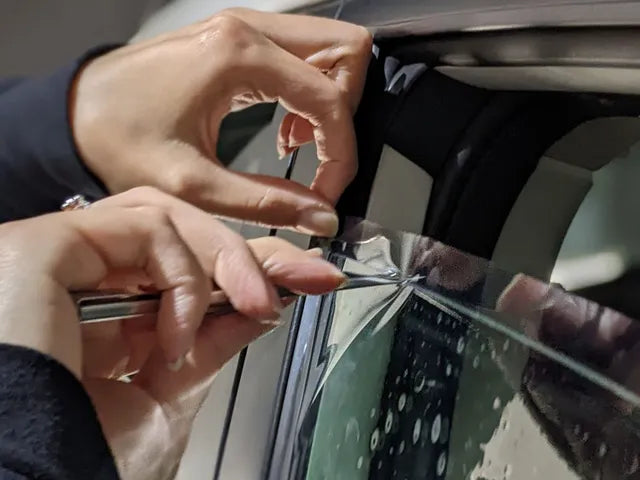
- Use a fine-tip knife or razor blade for precise cuts. Start trimming from the top edge of the window, moving slowly along the contours of the glass.
- Trim the film slightly over the edge, ensuring there’s a small amount of overhang. After trimming, you can use a squeegee to smooth the edges and ensure the film adheres to the glass without wrinkles or bubbles.
- Work your way around the window, trimming carefully along the edges. Be extra cautious around the curves and corners of the window, as these areas can be tricky.
Tip: Take your time to make smooth, even cuts to avoid jagged edges or visible lines in the tint.

Step 6: Smooth the Film with a Squeegee
Once the tint is in place and trimmed to size, use a squeegee to remove any air bubbles and smooth the tint film onto the window.
- Starting from the center of the window, gently press down with the squeegee and work your way outwards towards the edges.
- Apply consistent pressure, but don’t overdo it, as you don’t want to tear the film.
- If any bubbles remain, continue to work them out from the center, pushing them towards the edges of the window.

Step 7: Heat and Mold the Tint Film
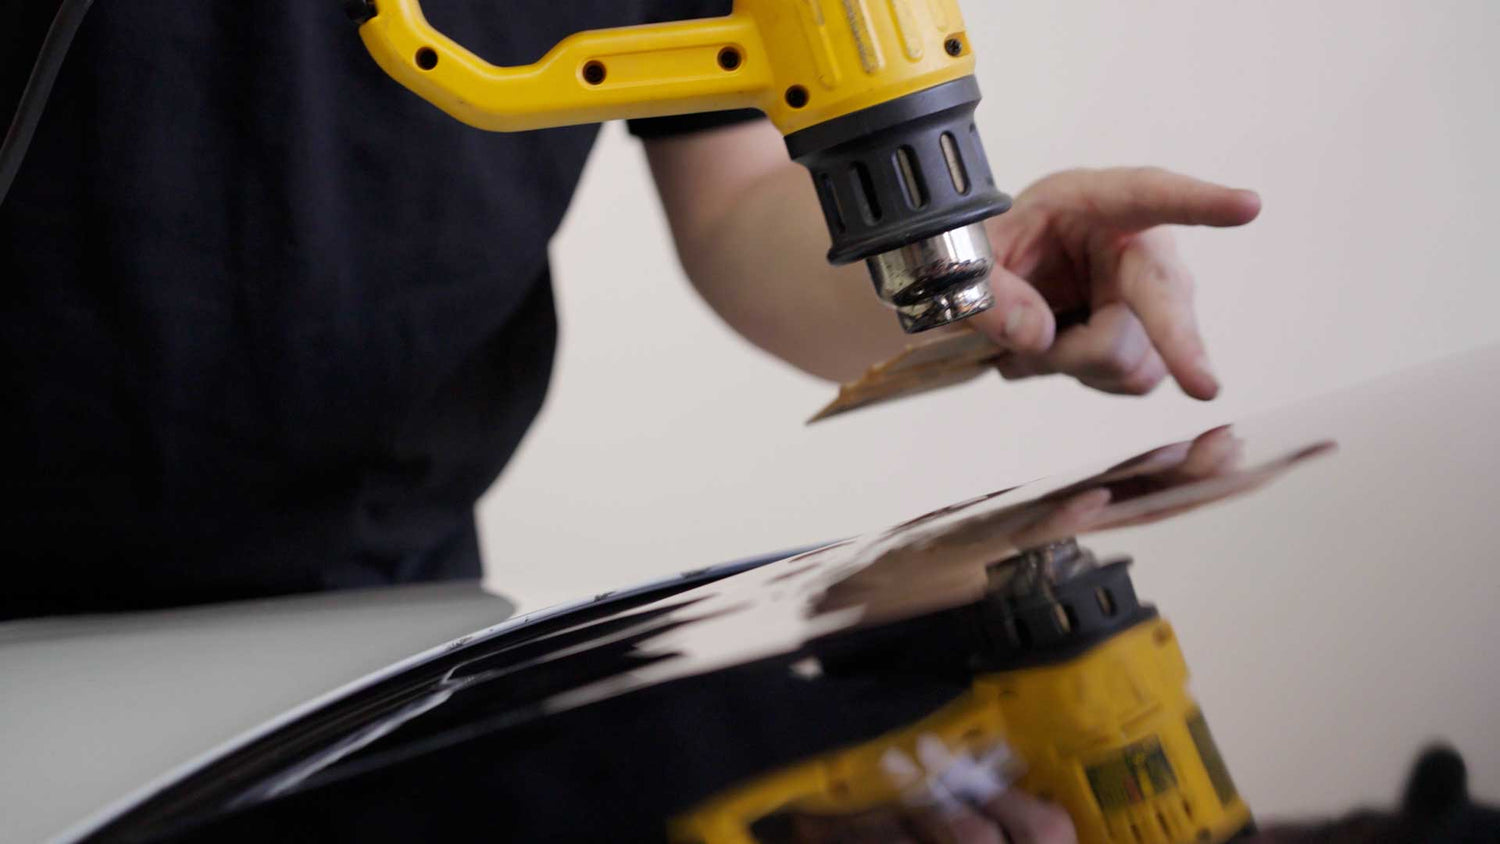
For windows with curves or shapes that need molding, use a heat gun or hair dryer to soften the tint film and allow it to conform to the window’s shape.
- Hold the heat gun about 6 inches from the tint film and gently heat it up. This makes the film more pliable.
- Once heated, use your hands or a squeegee to smooth the film into the curve of the window.
- Allow the tint film to cool down in place, which helps it settle into the correct shape.
Step 8: Trim the Excess Film and Final Adjustments
After the tint has adhered to the window and any air bubbles have been removed, use your knife or razor blade to trim off any excess film that extends beyond the edges.
- Ensure the film sits neatly along the edges of the window, leaving no gaps.
- Inspect the window for any imperfections or spots that need additional attention.
Step 9: Allow the Tint to Set and Dry
Once the tint film is properly trimmed and smoothed, it needs time to set and dry. The drying process typically takes about 24 to 48 hours, during which the film will fully adhere to the glass.
- Avoid rolling the windows down during this time to ensure the tint stays in place.
- If you used soapy water, the excess moisture will evaporate during the drying process, and the film will fully bond with the window.
Enjoy Your Professionally Hand-Cut Tint
Hand-cutting window tint can seem challenging at first, but with practice and the right technique, it can lead to beautiful, custom-fit results. By following these detailed steps, you can ensure that your window tinting job is done with precision, creating a sleek, professional look for your vehicle.
Remember, the more you practice, the better you’ll get at hand-cutting window tint. Whether you’re a DIY enthusiast or a professional in the tinting industry, mastering hand-cutting is a valuable skill.
Final Tips for Success:
- Always use high-quality tint film for the best results.
- Take your time—precision is key when cutting and applying tint.
- Practice on smaller, less critical areas before attempting full windows.
By following these steps and tips, you’ll be well on your way to achieving flawless, hand-cut window tint that will enhance the look of any vehicle.
For any questions or enquiries reach out to an Auto Oasis Kustoms Team Member!
-

A Step-by-Step Guide to Hand-Cutting Window Tin...
Hand-cutting window tint is an essential skill for anyone looking to achieve a custom, professional look for their vehicle. This step-by-step guide walks you through the entire process, from cleaning...
A Step-by-Step Guide to Hand-Cutting Window Tin...
Hand-cutting window tint is an essential skill for anyone looking to achieve a custom, professional look for their vehicle. This step-by-step guide walks you through the entire process, from cleaning...
-

Hand-Cut Tint vs. Plotter-Cut Tint: Which Metho...
Choosing the right window tint method can transform your vehicle’s look and functionality. Explore the key differences between hand-cut tinting and plotter-cut tinting, two popular techniques in the world of...
Hand-Cut Tint vs. Plotter-Cut Tint: Which Metho...
Choosing the right window tint method can transform your vehicle’s look and functionality. Explore the key differences between hand-cut tinting and plotter-cut tinting, two popular techniques in the world of...
-

The Protective Benefits of Window Tint for Your...
Discover the multitude of protective benefits that window tinting offers for your vehicle. From heat rejection and UV protection to enhanced privacy and shatter resistance, tinted windows provide comfort, safety,...
The Protective Benefits of Window Tint for Your...
Discover the multitude of protective benefits that window tinting offers for your vehicle. From heat rejection and UV protection to enhanced privacy and shatter resistance, tinted windows provide comfort, safety,...


